Galentine's Fun Chocolate Layer Cake
Highlighted under: Artisan Dessert Bakes
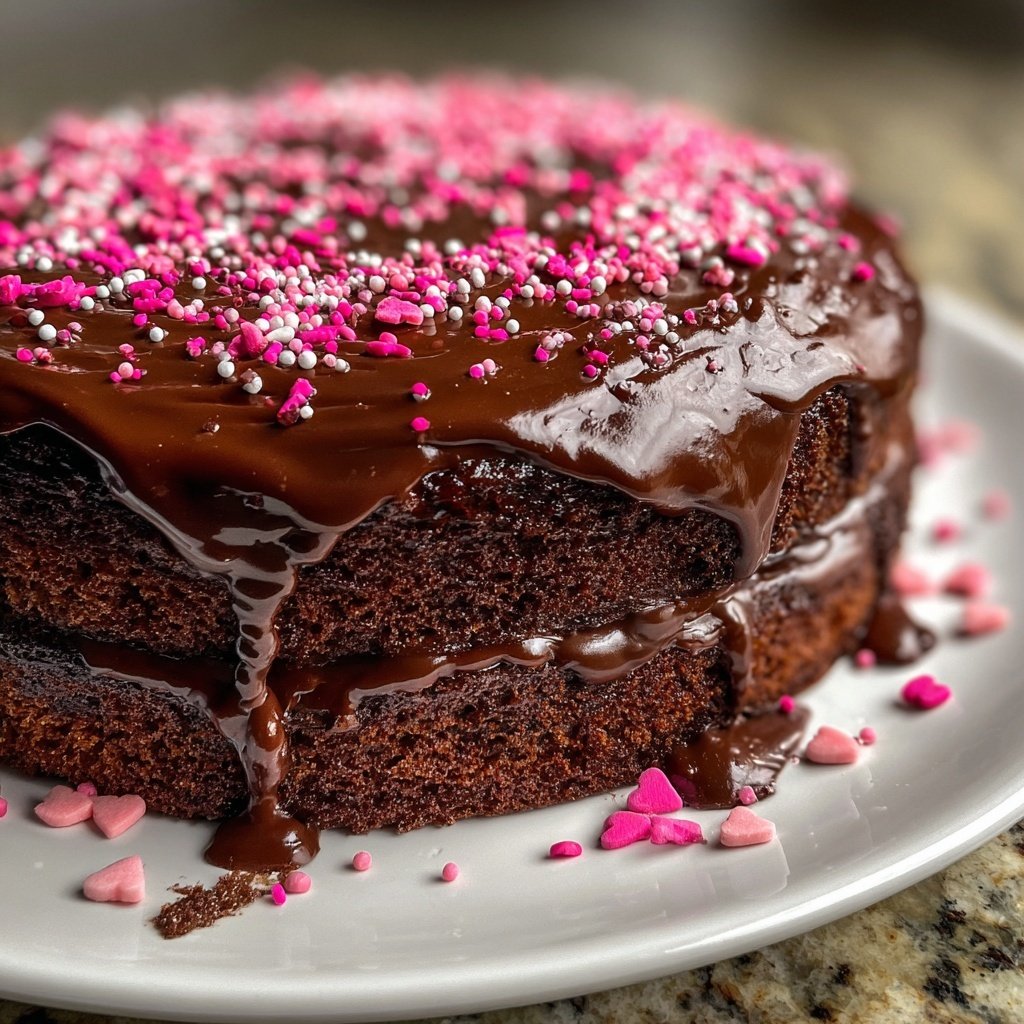
I absolutely adore baking this Galentine's Fun Chocolate Layer Cake for my friends. Every layer is a chocolate lover's dream, perfectly balanced with a rich chocolate frosting that is both creamy and indulgent. The colorful decorations make it perfect for celebrating our friendship, and it brings back such joyful memories of our get-togethers. Trust me, once you take a bite of this decadent cake, you'll want to make it a part of every special occasion in your life!
When I first decided to create this Galentine's Fun Chocolate Layer Cake, I wanted something that encompassed joy and warmth. I experimented with several recipes until I hit the right balance of moistness and chocolate depth. The secret lies in the combination of espresso powder, which enhances the chocolate flavor, and sour cream for moisture.
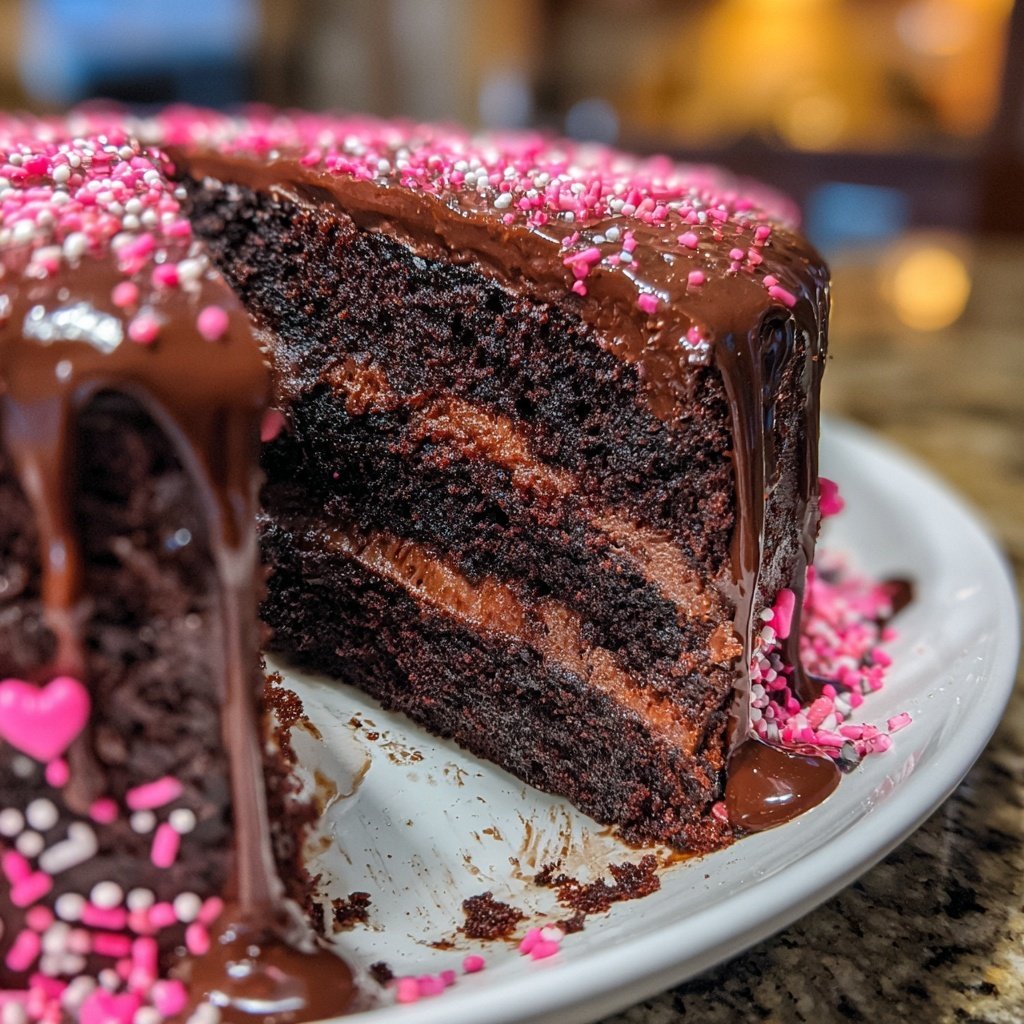
As I layered the cakes, I imagined all the laughter and love that would surround it during our Galentine's celebration. Each slice reveals an inviting, rich interior, making it an instant favorite. My tip is to let the final layer settle before frosting it to ensure that every slice holds up beautifully!
Why You Will Love This Recipe
- Rich cocoa flavor with a delightful chocolate frosting
- Fun colorful decorations make it perfect for Galentine's
- Perfectly moist layers that melt in your mouth
Understanding the Ingredients
The rich cocoa powder used in the cake layers is essential for achieving that deep chocolate flavor that fills each bite. I recommend using high-quality cocoa for the best results. Also, the addition of espresso powder enhances the overall chocolate notes without imparting a coffee flavor, making it a secret weapon for chocolate desserts.
While the recipe calls for all-purpose flour, you can substitute half of it with cake flour for an even lighter texture. The vegetable oil not only keeps the cake moist but also allows it to achieve a tender crumb. For a dairy-free version, use a plant-based milk and oil alternatives such as coconut oil.
Baking Tips
When baking the cake layers, it's crucial to check for doneness at the 25-minute mark, but keep an eye on them; ovens can vary. The cakes should spring back when lightly pressed in the center and should not be jiggly. If the toothpick comes out with wet batter, it likely needs a few more minutes. Be cautious not to overbake, as this can lead to dry layers.
Cooling the cakes in the pans for 10 minutes before transferring them to wire racks is a vital step. This prevents them from breaking apart. For ease of assembly, ensure the layers are completely cool—slightly warm layers can cause the frosting to melt and slide off, resulting in a messy presentation.
Ingredients
Gather all your ingredients to make the process smooth and enjoyable!
Cake Layers
- 2 cups all-purpose flour
- 2 cups granulated sugar
- 3/4 cup cocoa powder
- 1 1/2 teaspoons baking powder
- 1 1/2 teaspoons baking soda
- 1 teaspoon salt
- 2 large eggs
- 1 cup whole milk
- 1/2 cup vegetable oil
- 2 teaspoons vanilla extract
- 1 cup boiling water
- 1 teaspoon espresso powder
Frosting
- 1 cup unsalted butter, softened
- 3 1/2 cups powdered sugar
- 1/2 cup cocoa powder
- 1/4 cup heavy cream
- 1 teaspoon vanilla extract
Decoration
- Colorful sprinkles
- Fresh berries (optional)
- Chocolate shavings (optional)
Make sure to measure everything accurately for the best results!
Instructions
Let's dive into the steps to create this delightful cake!
Prepare the Cake Batter
Preheat your oven to 350°F (175°C). In a large bowl, combine the flour, sugar, cocoa powder, baking powder, baking soda, and salt. Add the eggs, milk, oil, and vanilla, and mix until well combined. Gradually stir in the boiling water and espresso powder until smooth.
Bake the Cake
Divide the batter evenly between three greased 9-inch round cake pans. Bake for 25 minutes or until a toothpick inserted into the center comes out clean. Allow the cakes to cool in the pans for 10 minutes, then transfer to wire racks to cool completely.
Make the Frosting
In a medium bowl, beat the softened butter until creamy. Gradually add the powdered sugar and cocoa, alternating with the heavy cream and vanilla, and beat until light and fluffy.
Assemble the Cake
Place one layer of cake on a serving plate and spread a layer of frosting on top. Repeat this process with the second and third layers, finishing with a generous amount of frosting on the top and sides of the cake.
Decorate
Decorate the cake with colorful sprinkles, fresh berries, or chocolate shavings as desired. Slice and serve at your Galentine's celebration!
Enjoy your delicious cake and celebrate with friends!
Pro Tips
- For added flavor, feel free to drizzle some chocolate syrup between layers or add a layer of raspberry jam for a fruity twist!
Frosting Techniques
When preparing the chocolate frosting, be sure the butter is at room temperature; this is key for achieving a smooth, creamy texture. It's helpful to beat the butter first until light and fluffy before gradually adding the powdered sugar to avoid clumping. Add the heavy cream slowly, mixing until the frosting reaches a spreadable consistency.
For an extra touch of flavor, you can incorporate a pinch of salt to the frosting, which enhances the sweetness and chocolate profile. If the frosting seems too thick, you can add a touch more heavy cream, one tablespoon at a time, until you reach the desired texture.
Decorating Your Cake
Decorating is not just about aesthetics; it can also enhance the overall taste experience. Fresh berries can add a bright burst of flavor, balancing the sweetness of the frosting. If you opt for chocolate shavings, use a vegetable peeler on a chocolate bar to create elegant curls for a refined look.
To create a fun and festive theme for Galentine’s, try using edible glitter or themed holiday toppers along with the colorful sprinkles. This personal touch can make the cake feel extra special and unique for your celebration. Always remember to chill the cake before slicing; this helps to set the frosting and leads to cleaner slices.
Questions About Recipes
→ Can I make this cake ahead of time?
Absolutely! You can bake the layers a day in advance and store them wrapped in plastic wrap. Frost just before serving.
→ Can I replace any ingredients?
Yes, you can use gluten-free flour or almond milk for a dairy-free option, but it may slightly alter the texture.
→ How should I store leftovers?
Store any leftovers in an airtight container in the fridge for up to 3 days. Allow it to come to room temperature before serving for the best flavor.
→ Can I freeze this cake?
Yes, you can freeze the unfrosted cake layers for up to 3 months. Just ensure they are tightly wrapped to prevent freezer burn.
Galentine's Fun Chocolate Layer Cake
Created by: The Delish board Team
Recipe Type: Artisan Dessert Bakes
Skill Level: Intermediate
Final Quantity: 12 servings
What You'll Need
Cake Layers
- 2 cups all-purpose flour
- 2 cups granulated sugar
- 3/4 cup cocoa powder
- 1 1/2 teaspoons baking powder
- 1 1/2 teaspoons baking soda
- 1 teaspoon salt
- 2 large eggs
- 1 cup whole milk
- 1/2 cup vegetable oil
- 2 teaspoons vanilla extract
- 1 cup boiling water
- 1 teaspoon espresso powder
Frosting
- 1 cup unsalted butter, softened
- 3 1/2 cups powdered sugar
- 1/2 cup cocoa powder
- 1/4 cup heavy cream
- 1 teaspoon vanilla extract
Decoration
- Colorful sprinkles
- Fresh berries (optional)
- Chocolate shavings (optional)
How-To Steps
Preheat your oven to 350°F (175°C). In a large bowl, combine the flour, sugar, cocoa powder, baking powder, baking soda, and salt. Add the eggs, milk, oil, and vanilla, and mix until well combined. Gradually stir in the boiling water and espresso powder until smooth.
Divide the batter evenly between three greased 9-inch round cake pans. Bake for 25 minutes or until a toothpick inserted into the center comes out clean. Allow the cakes to cool in the pans for 10 minutes, then transfer to wire racks to cool completely.
In a medium bowl, beat the softened butter until creamy. Gradually add the powdered sugar and cocoa, alternating with the heavy cream and vanilla, and beat until light and fluffy.
Place one layer of cake on a serving plate and spread a layer of frosting on top. Repeat this process with the second and third layers, finishing with a generous amount of frosting on the top and sides of the cake.
Decorate the cake with colorful sprinkles, fresh berries, or chocolate shavings as desired. Slice and serve at your Galentine's celebration!
Extra Tips
- For added flavor, feel free to drizzle some chocolate syrup between layers or add a layer of raspberry jam for a fruity twist!
Nutritional Breakdown (Per Serving)
- Calories: 400 kcal
- Total Fat: 24g
- Saturated Fat: 15g
- Cholesterol: 140mg
- Sodium: 180mg
- Total Carbohydrates: 55g
- Dietary Fiber: 2g
- Sugars: 35g
- Protein: 4g